

Got you eyes on a internet deal for a vintage cinema camera, huh?
Vintage fever is in the air. I know you have been scouring the web for your next great camera find. Maybe you already have a bid in at an auction. I am going to give you some information that may keep you from ruining your cinema camera when it arrives at your doorstep.

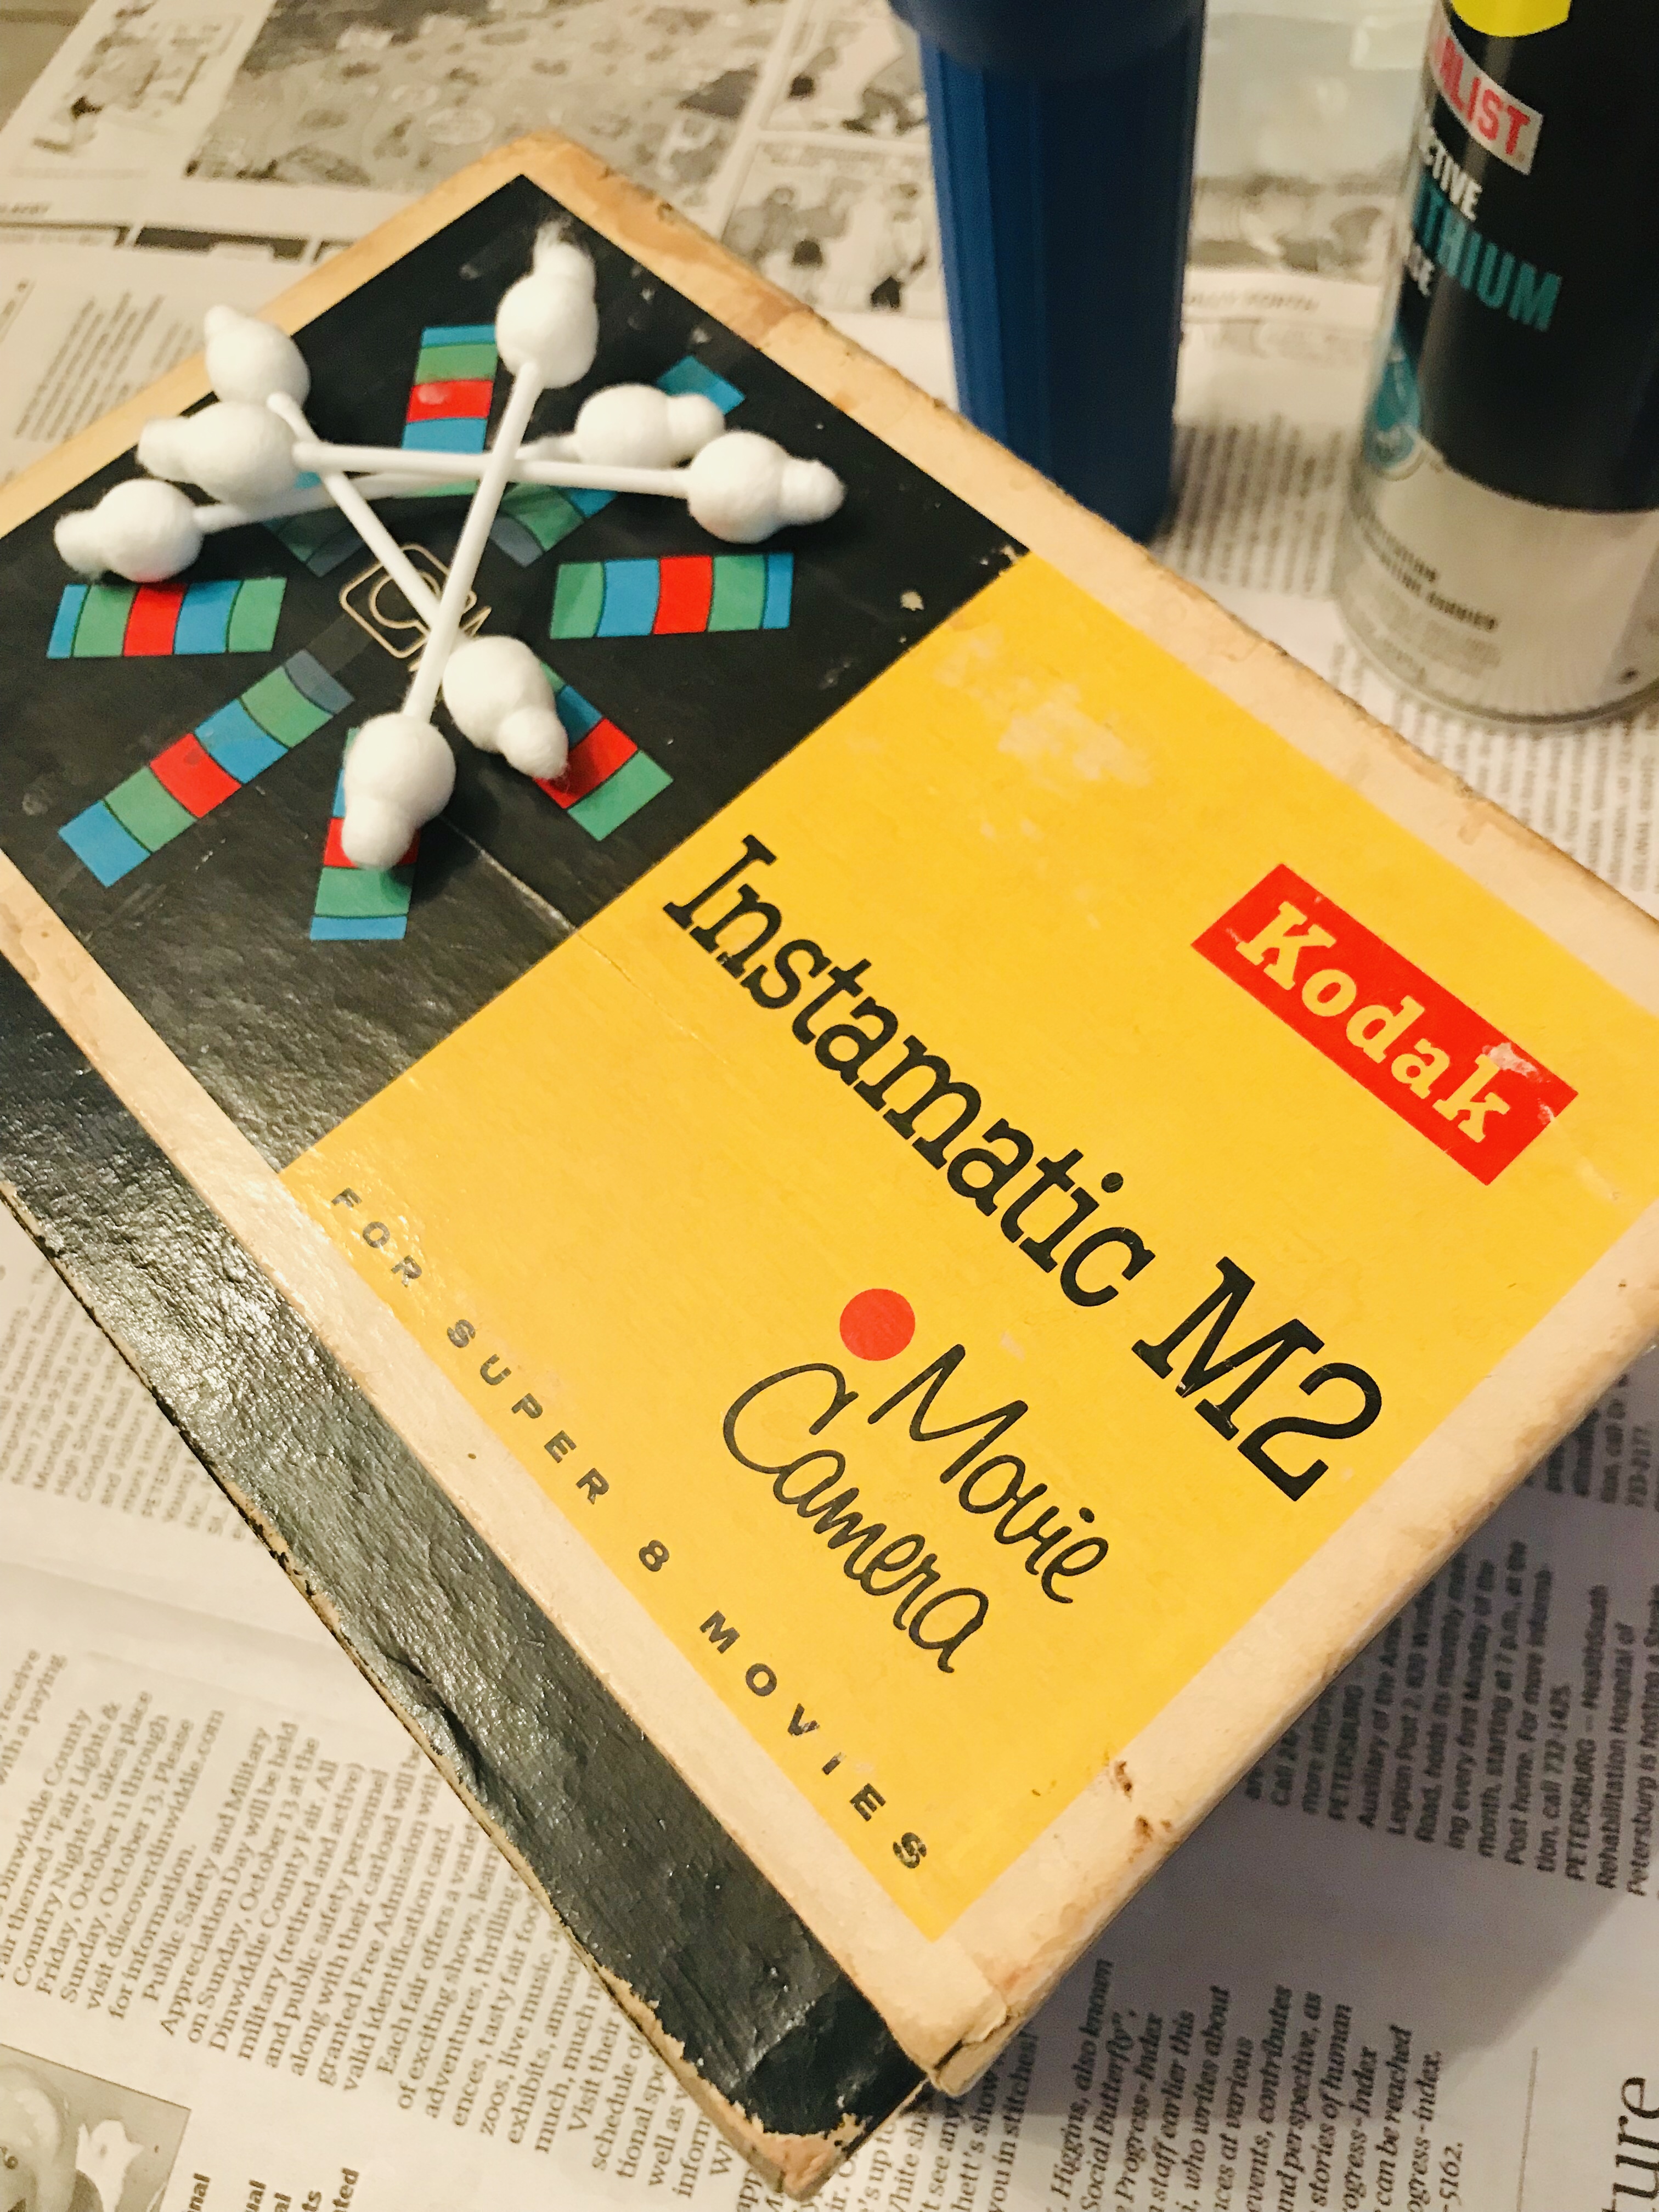
Looks can be deceiving.
Do not judge the camera by the box. It is easy to throw a hissy fit when a camera you just bought is in a box that looks molded, rusted, and beat up. Don’t sweat it. That box served its purpose well. The box is supposed to keep the camera from taking the punish.
Since the box is beaten and bruised, DO NOT go at it like it a present under the Christmas tree. When it is in your care, handle it like a paleontologist handles a rare fossil. Do that until you get eyes on the payload (your vintage camera).
Keep all the manuals and nomenclature. If your cinema camera did not come with any manuals, look them up online. I know you may think, “how hard can it be to operate a 20 year old piece of technology.” Well, you’d be surprise. The operation manual is your first exposure to how your camera system is supposed to operate. Manuals explain what all the fragile plastic levers do. They have tips on how to maintain and perform general maintenance on your camera system. Read the manual before you break a relic.

If you aren’t sure about a mechanism on your camera DO NOT touch it until you can Make an educated guess as to what it’s purpose is. Your curiosity can lead to destruction. Battery doors are usually the first thing to get destroyed due to over eagerness. Then film covers and latches. Slow your roll, and read the manual.
Cleaning the cinema camera can be the most stressful part of your unboxing.
It’s time to do a light dusting and cleansing of all visible parts. Lord knows we do not want to start a zombie apocalypse by placing an aged bacteria near our faces. Get some water and a mild detergent, prepare a bucket and mix it. Wring the rag DRY after you dip it in the soapy water. PROTECT THE LENS at all cost. Do not clean the lens yet. Gently dust (canned air is my go-to product) and wipe off any stubborn stains and corrosion on the camera body.
Be gentle and use light hands. If it doesn’t come off, maybe it is supposed to be there. Look out for the old adhesive that is dry and brittle. Remember to handle it like a fossil.

Now, we can lube all the visible moving parts. Open the film door, lube the all the intricate mechanisms that advance the film and hinges on the body. This step happens before you put batteries in the camera and run the motor. If it is spring wound this step is all the more important. Get a toothpick or q-tip and dab the hard reach mechanisms around the film gate. I use specialist protective white lithium grease. DO NOT LUBRICATE ANYTHING NEAR THE LENS OR BATTERY PORT!
Let the juicy goodness sink in.
Let the cinema camera sit for 10-15 minutes so the lubrication can set in. Throw in some fresh batteries, engage the slowest frame rate, and give the shutter release a quick burst. Check for any dusty smells, that could identify a striped gear. If you feel that the camera geartrain is smooth, give the shutter release (2) one second pulses. Again looks for signs and noises that are out of whack. If it checks out. Give it a 10 seconds run.
It’s time to clean the lens, here we go guys and gals.
Now we can get into basic lens care.
Get out a dry air source (not your human breath, ew gross). Grab a lens blower, give several puffs into the lens. Examine it. If it has debris on it, it’s time to bust out the distilled water and q-tips.

With the distilled water and a q-tip, you want to gently dab the q-tip into a cap full of the distilled water. DO NOT OVER SATURATE THE Q-TIP. DO NOT LET THE Q-TIP CONTACT ANY OTHER SURFACE OTHER THAN THE LENS. If it does, get a new one. Even smallest specks of dust can scratch a lens.
Wipe the lens in small soft circles. Then, flip the q-tip around and dry the lens in small soft circles. DO NOT USE THE SAME Q-TIP TWICE. That defeats the purpose of preventing any dirt and debris contacting the lens surface. Do this for a maximum of (3) times. Operate the focus ring and aperture looking out for hitches and snags in the mechanism. If it checks out. Toss some film in and run your first camera test.
Look at you, a full fledge cinema camera technician.
Not so bad, right. This process takes me about 20 minutes. It should be a gentle engineering check up. Nothing more. Do not open the camera body, remove screws, or anything crazy unless you find a fault in the operation check. You may be causing more damage than is necessary.
Lastly, keep all the boxes that came with your vintage camera system. It would be a crying shame to throw out something essential, like a filter key. My filter key was wedged in between the bottom of the box and the styrofoam packaging. Something this is very easy to miss.
Do us a solid to support this amazing non-profit film club!
Please subscribe, buy film, and shoot something. We are building merchandise like the patches you’ve see in our photos. When you purchase one, you become a candidate to join the greatest institution for filmmakers in the Western Hemisphere.
Not only that, your proceeds fund workshops and film camps for children and adults. So shop with us. Help spread the word by sharing this content, and until next time, go film something. We’d love to see it.