Let me explain to you how you can use a slate to make quick contrast grades on your cinema film. But first, a brief history of the clapper board.
The clapper board has a proud Daddy.
This simple device has been a staple since the early days of sound of movies. It’s design and construction serve an excellent purpose, and given the advent of modern color-grading technology the purpose of the clapper board (slate) has expanded.
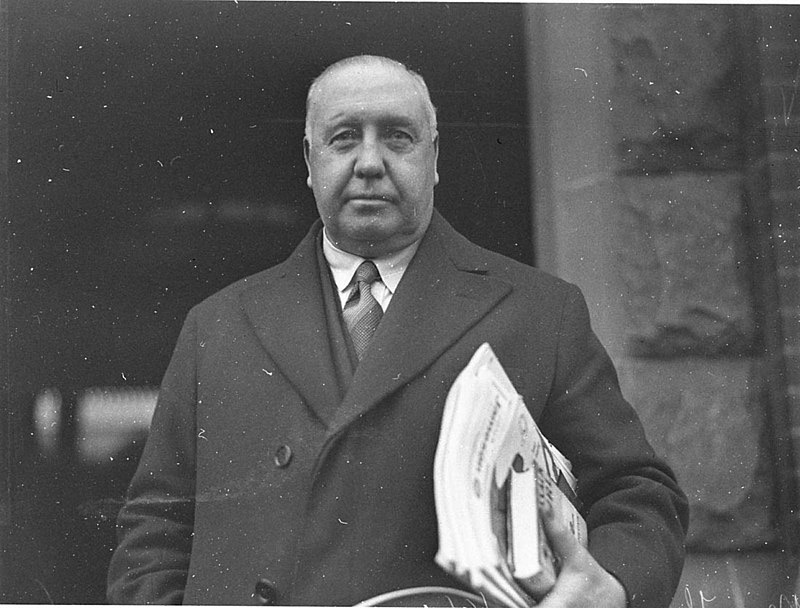
Francis William Thring (F.W. Thring) is the credited inventor of the clapper board used to sync sound & film.
The first clapper board has not changed much since it creation, but the use has definitely changed or has it. The sticks have always had black and white stripes on them, but modern slates have added calibrated color stripes.
The black and white stripes served as a visual aid to see the sticks at their moment of impact in various lighting conditions. This mainly facilitated syncing picture to audio. It is not known if cinematographers of the past used the clapper boards to find a black and white point in their exposures. 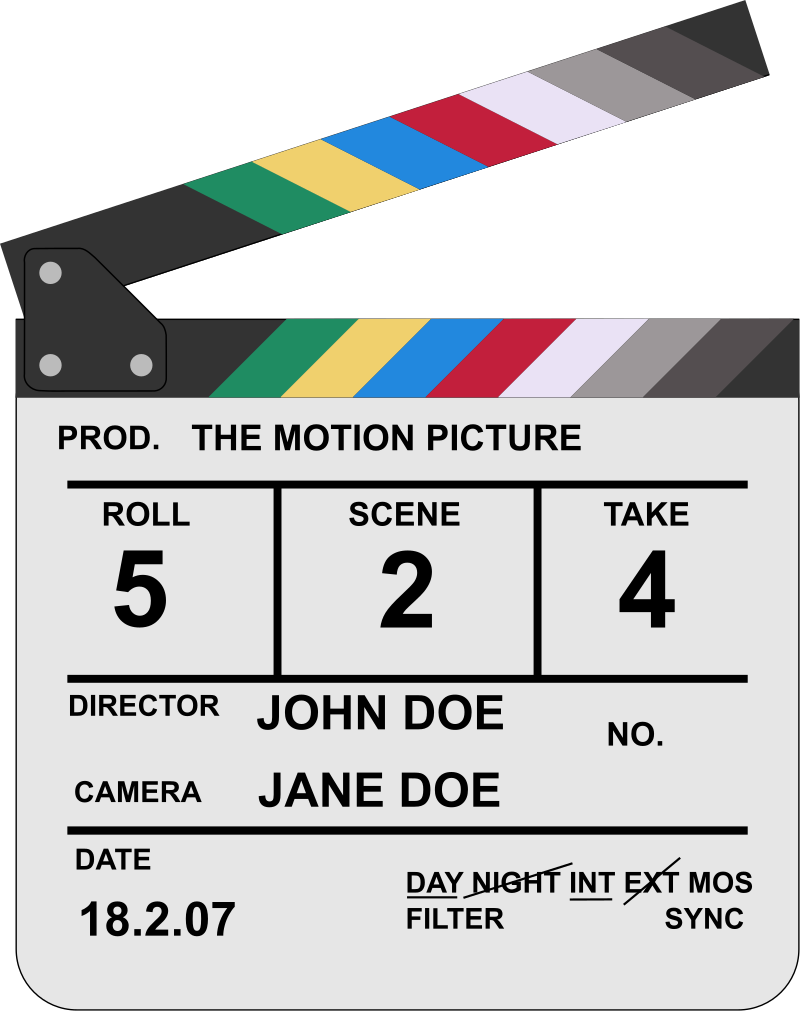
The addition of SMTPE timecode was added to even later models to further aid in digital editing systems. So their use has always been to help facilitate post-production workflow.
How to use the slate as a Color Grading Tool.
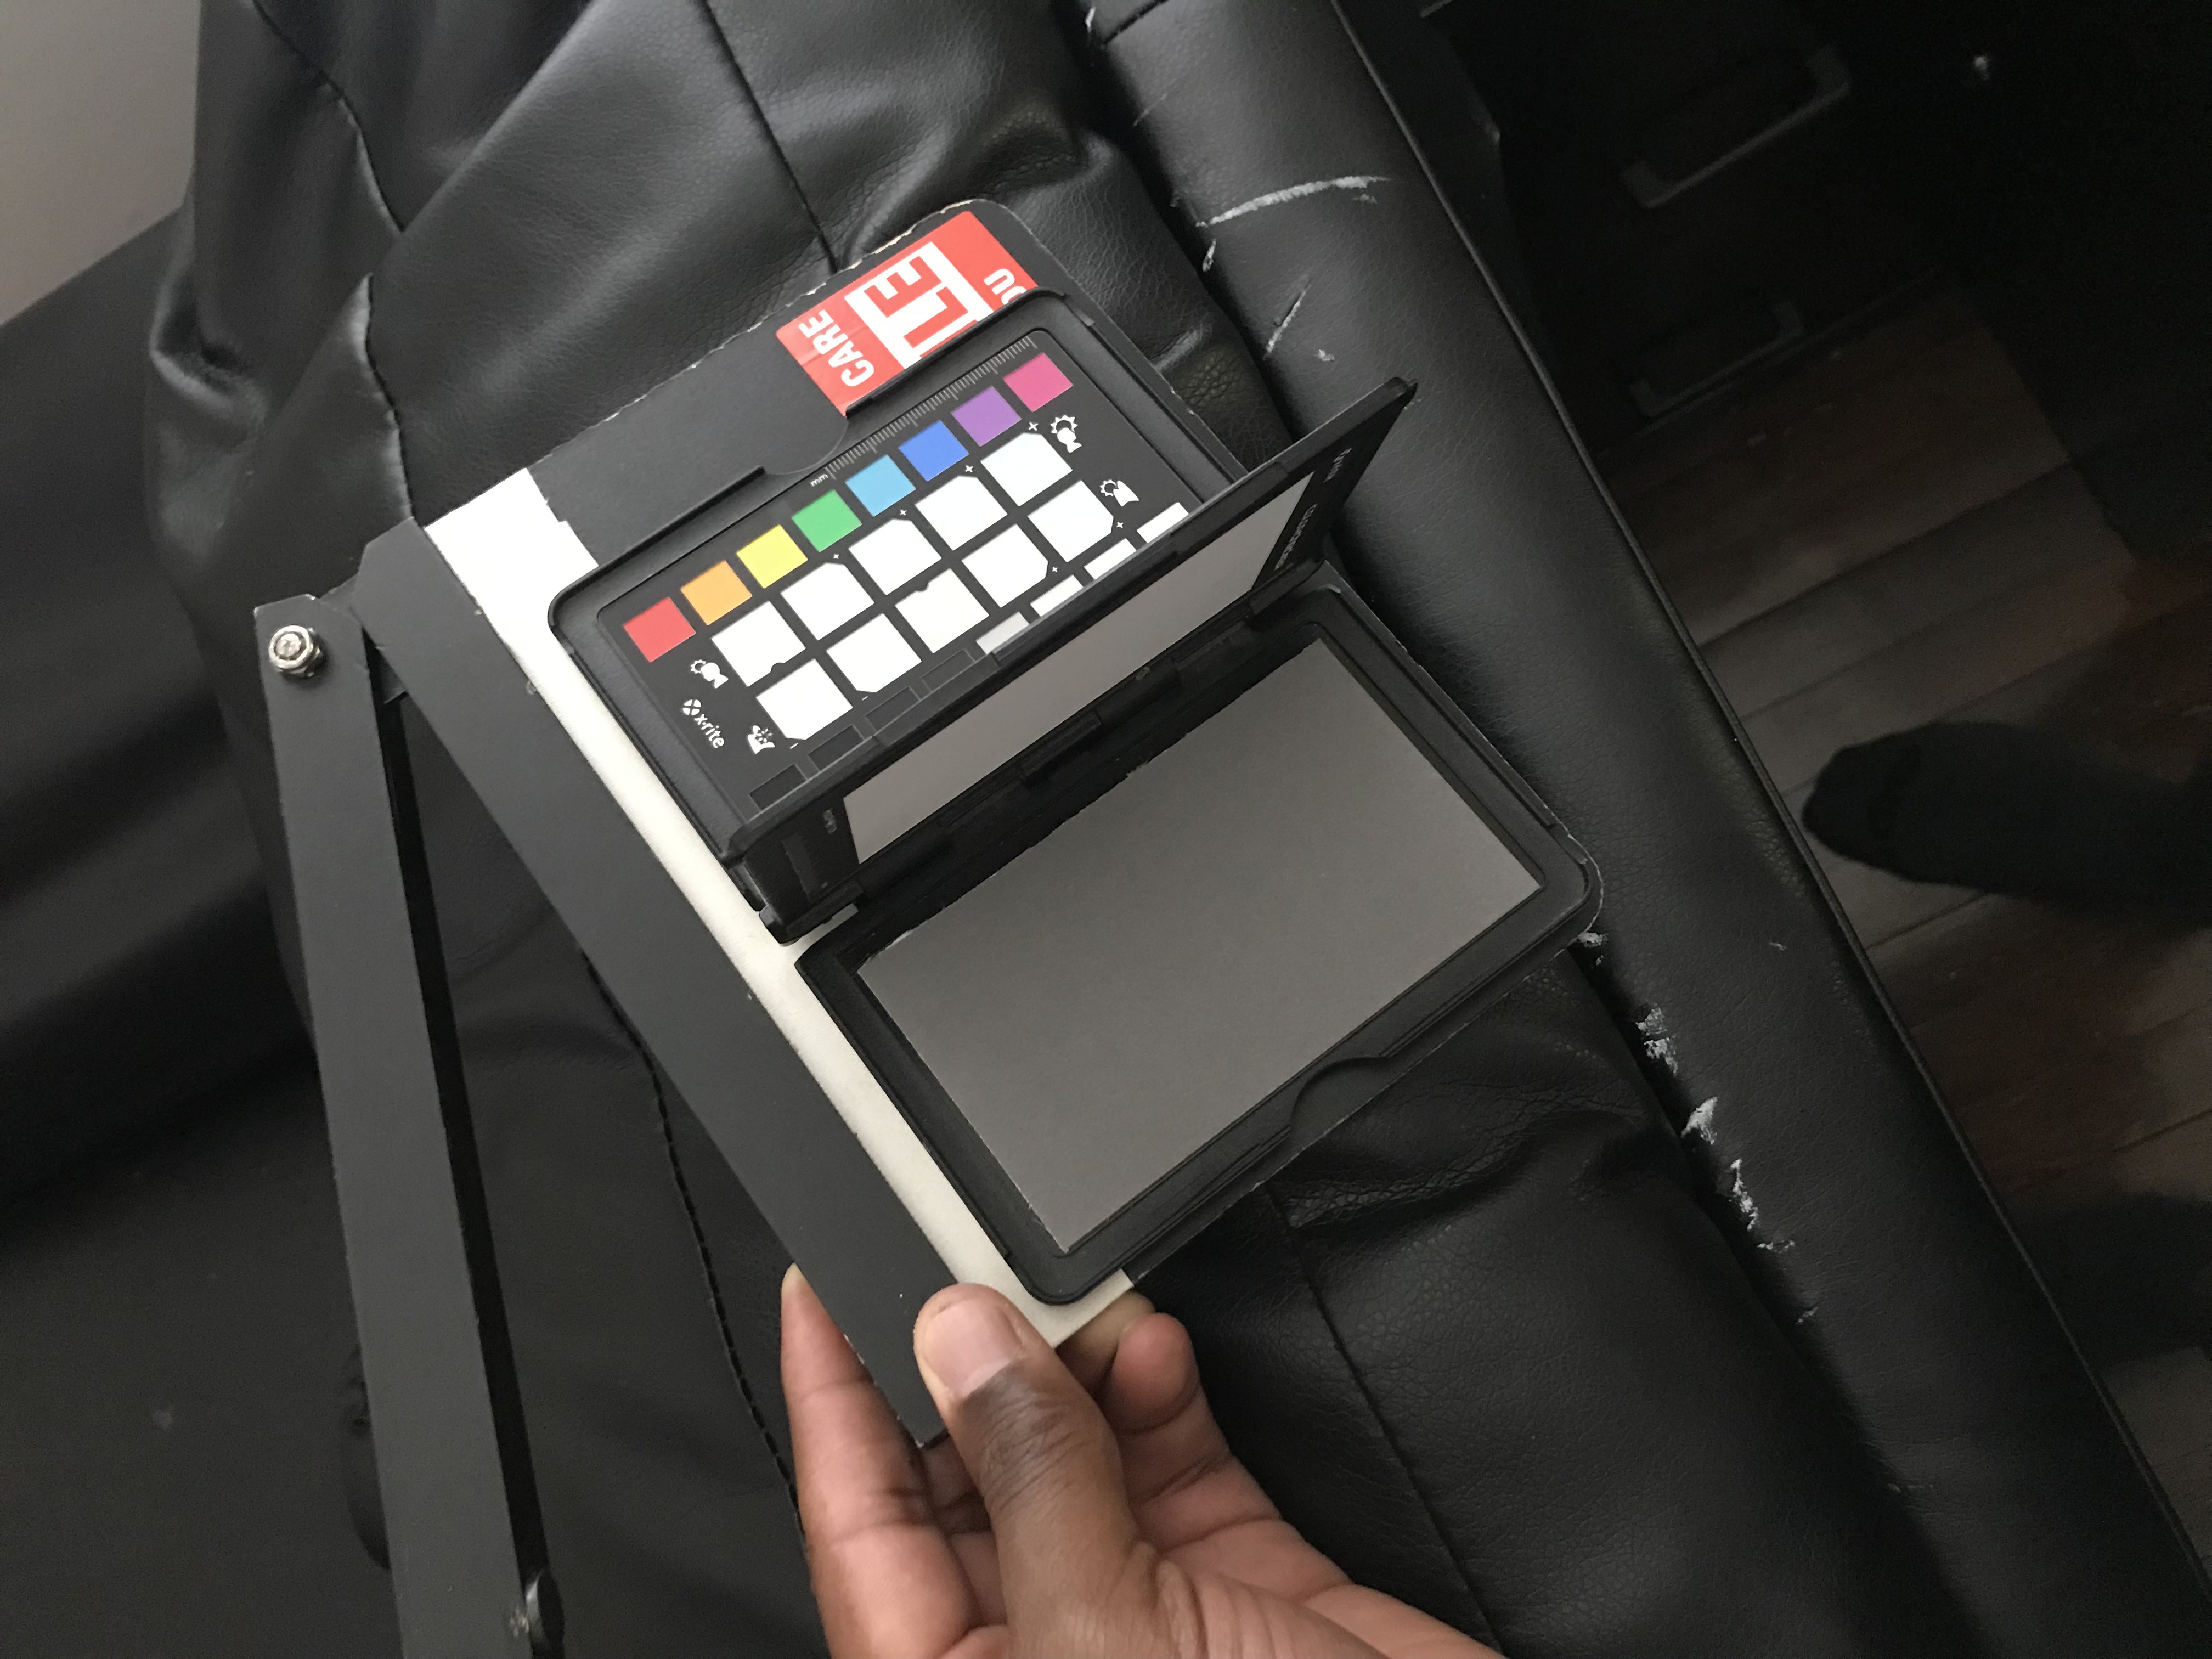
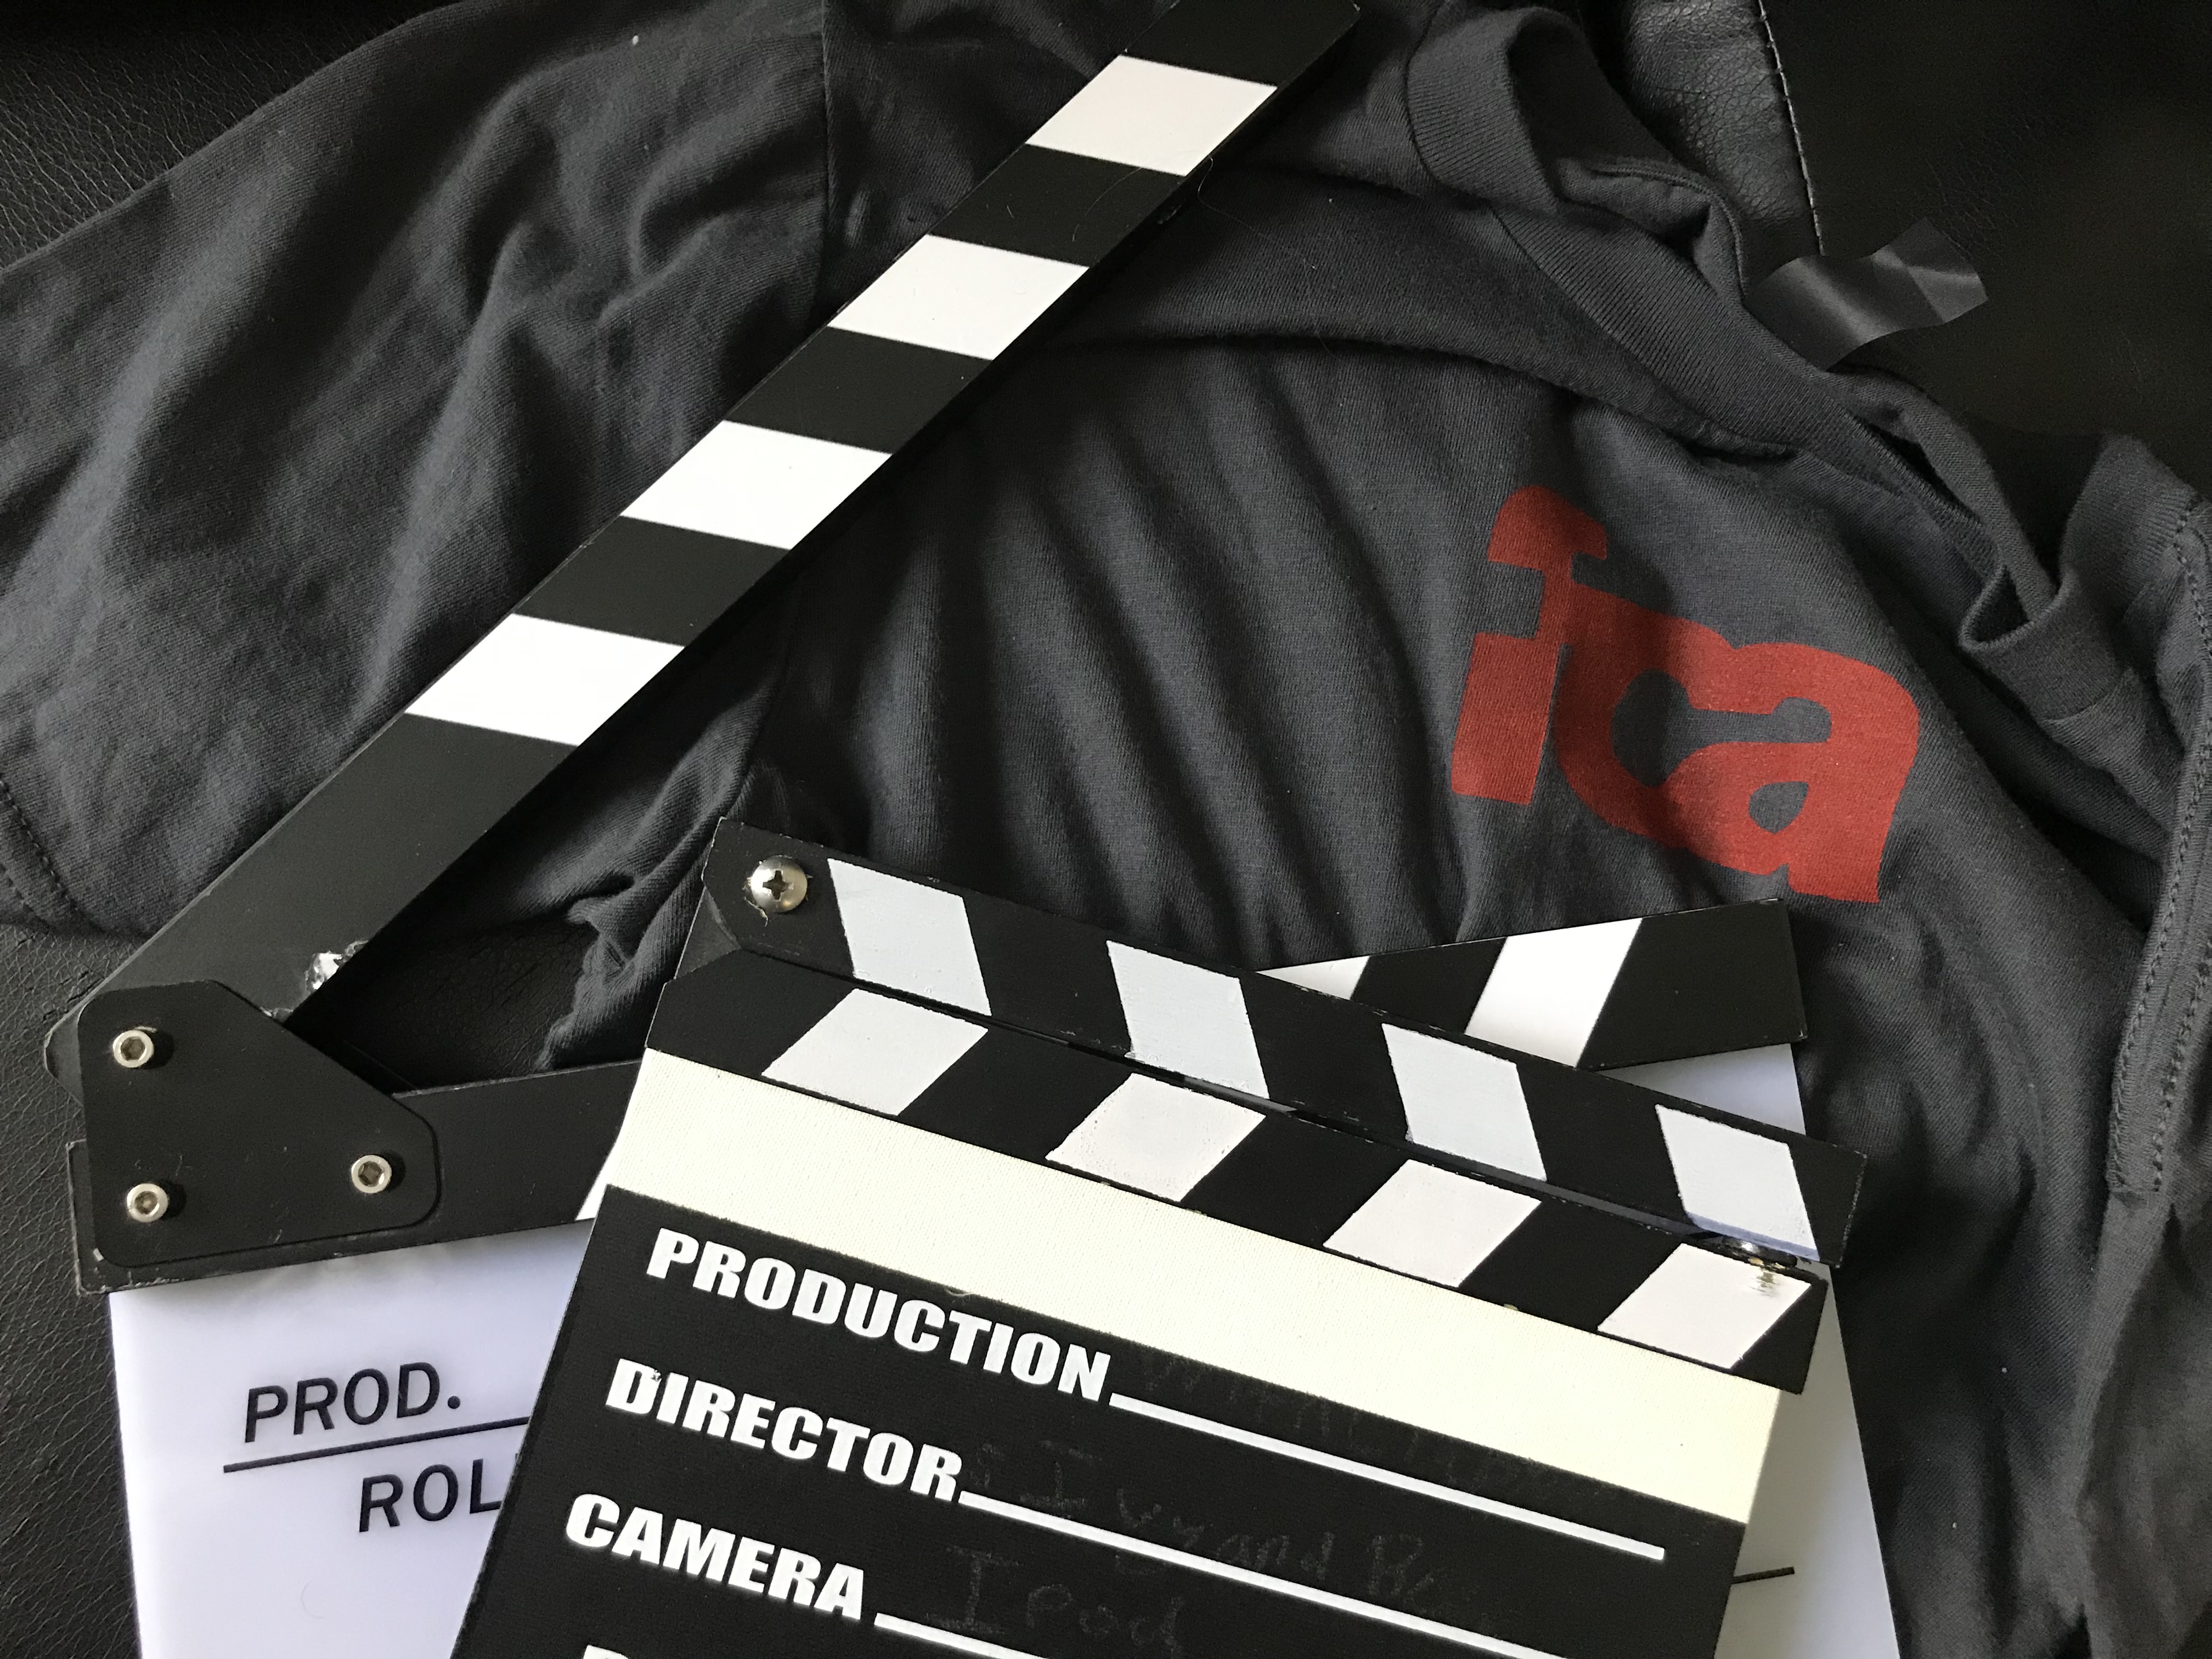
Here is a look at my make-shift slate from a retail department store. I bored hole in the sticks for magnets, reinforced the board with metal screws and I even velcro’d a color checker to it.
Here’s how you use the slate to get your contrast perfect enough to recreate the tones in your film.
In your NLE follow these steps;
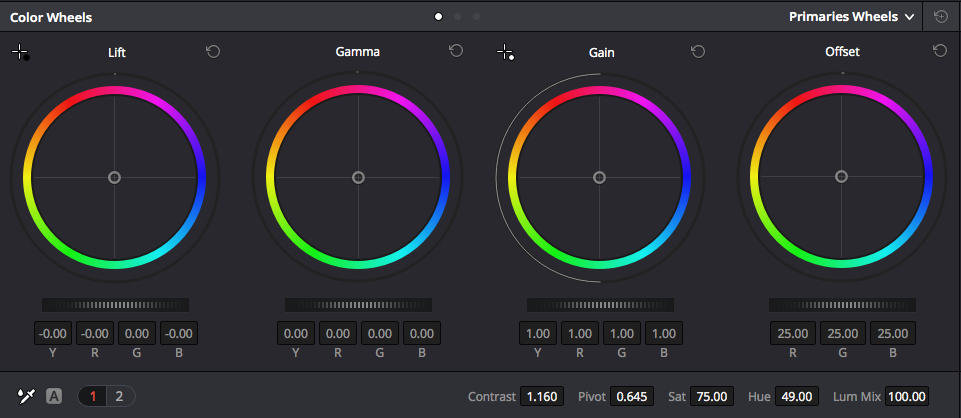
- Open your color correction curves or wheels.
- Find the option to add your black point and white point.
- Use the eye dropper to select the corresponding stripe for black and white point. But do one or the other, not both. You’ll throw your tonal scale out of whack if you do both.
- Adjust the mid-tone slider until the colors are in their correct tonal value (make sure red is red, green is green, etc.)
- If you have a grey card it is even easier. Select the midtone to take control over value with the eyedropper.
- With the eyedropper click on that grey card and you are done.
You can also use the sprocket-hole as your black point if you get a “overscan” done. This renders fabulous too.
Here are some more tips that will make this work better.
- Make sure your slate is in the same lighting conditions as your subject. This is really easy to by yourself. Just click off a single frame of the slate before you roll film.
- Make sure there aren’t any shadows on the slate.
- Make sure the slate is in sharp focus. Blurring will create inaccuracies in the tonal value.
I hope this helps you create that baseline grade in order to see your color negative film stocks in their true quality & tonal values. So, what are you waiting for? Join the Film Club of America by subscribing and go shoot something.